Are you ready to spread inspiration and joy and join the painted rocks community? Walk outside, grab a rock, and use the following tips to get you started.
Beginner Tips
- Pick smooth rocks
The best way to start? Give yourself a convenient canvas! River rocks that have smooth, flat surfaces are a great choice when you’re picking which rock to paint.
- Wash and dry them before you paint
Be sure to wash and dry your rock before you start the painting process. This will make the paint go on easier, and it’ll also make it last longer.
- Find some ideas online
Places like Pinterest have thousands of ideas when it comes to painted rocks. A quick search like “Painted Rock Ghost” or “Painted Rock Sunset” will give you tons of places to start!
- Take inspiration from the rock’s organic shape
One of the best ways to be creative when painting your rock is to take inspiration from the rock’s shape! Does it look like a little house, an animal, or maybe a piece of fruit? The answer could be hiding right in front of you!
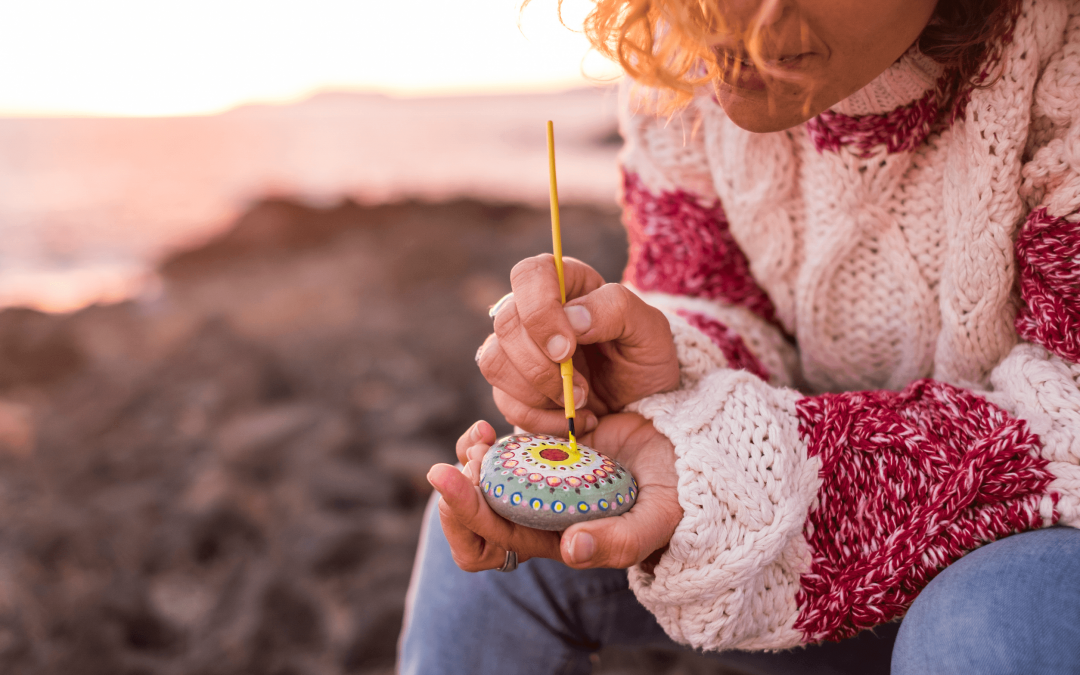
- Use small brushes for fine details
Rocks make for a pretty small canvas. Be sure to have small brushes on hand to get in all of the details. Your local craft store should have a lot of options when it comes to brush thickness.
- Paint markers are great for lettering
A lot of painted rocks feature quotes of inspiration! Grab a paint marker instead of a paint brush to make the lettering process a breeze. Also, consider using a pencil to map out your quote before you dive in. This will save you from any mistakes!
- Use a heat gun for speedy drying
Looking to add layers to your painted rock? Utilize a blow dryer or a craft heat gun to speed up the drying process! This could make it easier to add tiny details or lettering over your painting.
Advanced Tips
Ready to kick up your painted rock game? Below are some advanced tips that’ll get you started.
- Buy professionally sanded rocks
Instead of finding rocks outside that could potentially have imperfections that you have to work around, you can buy rocks online that are specifically sanded and tumbled to perfection. Find sellers on Amazon or Etsy!
- Use a primer on the rocks before you paint them
Let your colors POP by priming your rocks with paint primer before you get started. This will help you fill in any potential crevices and cracks, and will make your paint go on super smooth. Plus, priming your rocks will help preserve your materials – more specifically helping to preserve the tips of your paint markers.
- Seal them before you hide them
Using a clear coat sealer will make your rocks stand out because they’ll be extra shiny. Plus, the sealer will help them withstand the elements and your artwork will last much longer than unsealed rocks!
Download Painted Rocks!
If you haven’t already, download the Painted Rocks App so you can track your rock’s journey. Painted Rocks App is the #1 app for finding, tracking, and sharing painted rocks. Download today for free and get started!